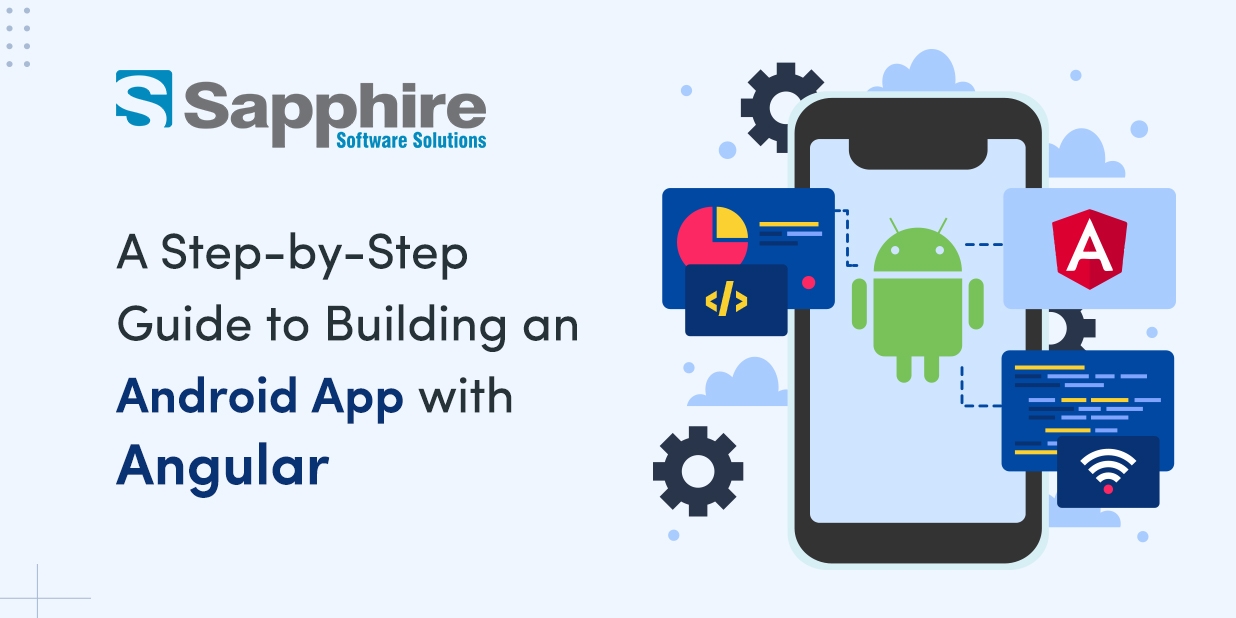
AngularJS is widely used and has a successful track record. It’s easier said than done to create an AngularJS application. The CLI installs all required Angular npm packages and other dependencies by running two short commands. The CLI creates a fresh workspace and an easy-to-use Welcome app.
Why think about Angular when developing mobile apps?
The first benefit of using AngularJS as your preferred framework is that it can be used to develop an engaging user interface.Additionally, AngularJS enables complete customization of design elements. This allows clients to acquire the desired design—one built just for their preferences and project requirements. One of the most notable components of the AngularJS framework is data binding. And not just data binding, but specifically “Two-Way” data binding. This is the feature that drives AngularJS developers insane.
Developers may scaffold and create Angular applications more quickly using the Angular CLI (Command Line Interface). Developers may quickly start new projects, produce components and services, and run development servers with the Angular CLI.
Here are some reasons to hire professional Angular development services whether you choose to create your Angular app from scratch or pick from a library of ready-made, customizable pieces and templates:
- – Removes silos and handoffs that slow down the development of apps
- – Saves money, time, and effort because you are not required to code every UI element manually.
- – Decreases time-consuming, tedious, and dull jobs
- – Speeds up the process of creating and delivering designs.
- – Provides seamless connection with Adobe XD and Sketch.
- – Enables you to incorporate elements such as third-party services, additional data sources, and increased security and compliance
- – Assists you in creating a single source of truth while creating applications
- – Offers excellent educational tools to teach you how to build an Angular app.
- – Converts design into clean HTML, TypeScript, and CSS code quickly and easily
User Interface Building:
1. Angular Components: Component-based architecture is used by Angular, and UI elements are contained inside components.
2. Templates and Data Binding: Using HTML and Angular-specific directives, you may specify the structure of your UI components using Angular’s template syntax. To link the characteristics of your component with the relevant components in the template, use data binding.
3. Styling: Angular allows utilizing external CSS files, inline styles, or CSS frameworks like Bootstrap, among other methods for applying styles. Ensure your styles translate effectively to various screen sizes and remain consistent across the app.
4. User Contact: Implement event handlers in your Angular components to manage user interactions. Connect user input events in your component class, such as button clicks, form submissions, and touch gestures, to the appropriate methods. Based on user input, these features might change the program’s data model, alter the user interface, or start other processes.
Including Functionality in Apps:
We’ll proceed to provide our Android app features next. Managing user interactions, data retrieval, and routing between several views are all involved.
1. User Interactions: React to user input, such as button clicks, form submissions, and mouse events, using event binding. Add event handlers to the classes that make up your components.
2. Data Binding: Angular’s two-way data binding feature allows the UI and the app’s data model to synchronize automatically. Learn how to update the model as user input changes and tie data to UI components.
3. HTTP and Services: Construct services to manage data retrieval from external APIs or backend systems. To send HTTP requests and retrieve data, use the HTTP module that comes with Angular.
4. Routing: Use routing to make it possible to switch between the many views of your app. Use the router module of Angular to manage navigation and define routes for various components.
Optimizing for Android:
It’s essential to optimize your Angular app for Android to make sure it functions well on a variety of devices. Here are some essential strategies for optimization:
1. Performance: Pay special attention to enhancing the app’s performance by streamlining the code and cutting out pointless calculations. Utilize light libraries as little as possible, and optimize pictures to speed up the download.
2. Responsive Design: Ensure your app’s interface adjusts fluidly to various screen sizes and orientations. Use CSS media queries with Angular’s responsive layout options to create a responsive design.
3. Lazy Loading: Use lazy loading for components and modules to speed up initial loading. The app’s performance is enhanced via lazy loading, which enables portions of the program only to load when required.
4. AOT compiler: Angular templates and components are converted into efficient JavaScript using the Ahead-of-Time (AOT) compiler compilation approach during the build process. This may speed up starting time for the program and improve performance.
5. Caching: Use caching techniques to locally store data often accessed on the device. Data retrieval may be sped up through caching, which reduces the need for repeated network queries.
6. Network Efficiency: To use less bandwidth, optimize network queries and limit data transfers. Improve the app’s speed by compression and reducing extraneous data, particularly on slower networks.
7. Battery and Resource Management: Pay attention to how the app affects the battery and resource utilization of the device. Ensure the program releases resources when no longer required and avoid running too many background processes.
8. Performance profiling: Use programs like Android Profiler or Chrome DevTools to profile your app’s performance. Identify performance bottlenecks and potential improvement areas to optimize your app’s performance.
You can use Angular to design an Android app that offers a smooth and delightful user experience on a variety of Android devices by using these optimization approaches. Regular testing and performance monitoring can keep your app’s performance and user happiness up to par.
The Android App: Building and Deploying:
The moment has come to create and launch your Angular app for Android.
1. Generate APK or AAB: Build your app for production using ng build –prod in the Angular CLI. The dist/ subdirectory will get optimized files as a result.2. Create a Keystore: Using Android Studio, create a Keystore file to sign your app.
3. Create and Sign the App: Create the APK or Android App Bundle (AAB) using Android Studio, then sign it using your keystore.
4. Test on a handset: Install the APK and extensively test your app on an Android handset.
Conclusion:
A potent and adaptable method for developing reliable apps is building an Android app using Angular. One of the best front-end UI development frameworks you can buy with your money (it’s free) is AngularJS. You can have a brilliant idea and work with an AngularJS developer to generate the greatest possible outcome. If you want to hire Angular developer company, Sapphire is the right choice. Whether you are looking for Android app development services or need to create cross-platform apps, we are just a call away from you.


